
Record video or audio in discussions
In this article: How to record a video or audio clip and share it directly in a course discussion, without needing any extra software. All Plans
Why record in discussions?
Sometimes it is easier to say something than type it. You can record a short video, an audio clip, or a photo right inside a discussion. Your recording is shared in the conversation so other students and your instructor can play it back.
Record in a comment or reply
-
Open the discussion. Click Add a comment, or click Write a reply under someone's comment.
-
Click Add photo, video or file in the toolbar.
-
In the Add media window, click Record audio, Record video, or Take photo.

- If your browser asks to use your camera or microphone, click Allow.
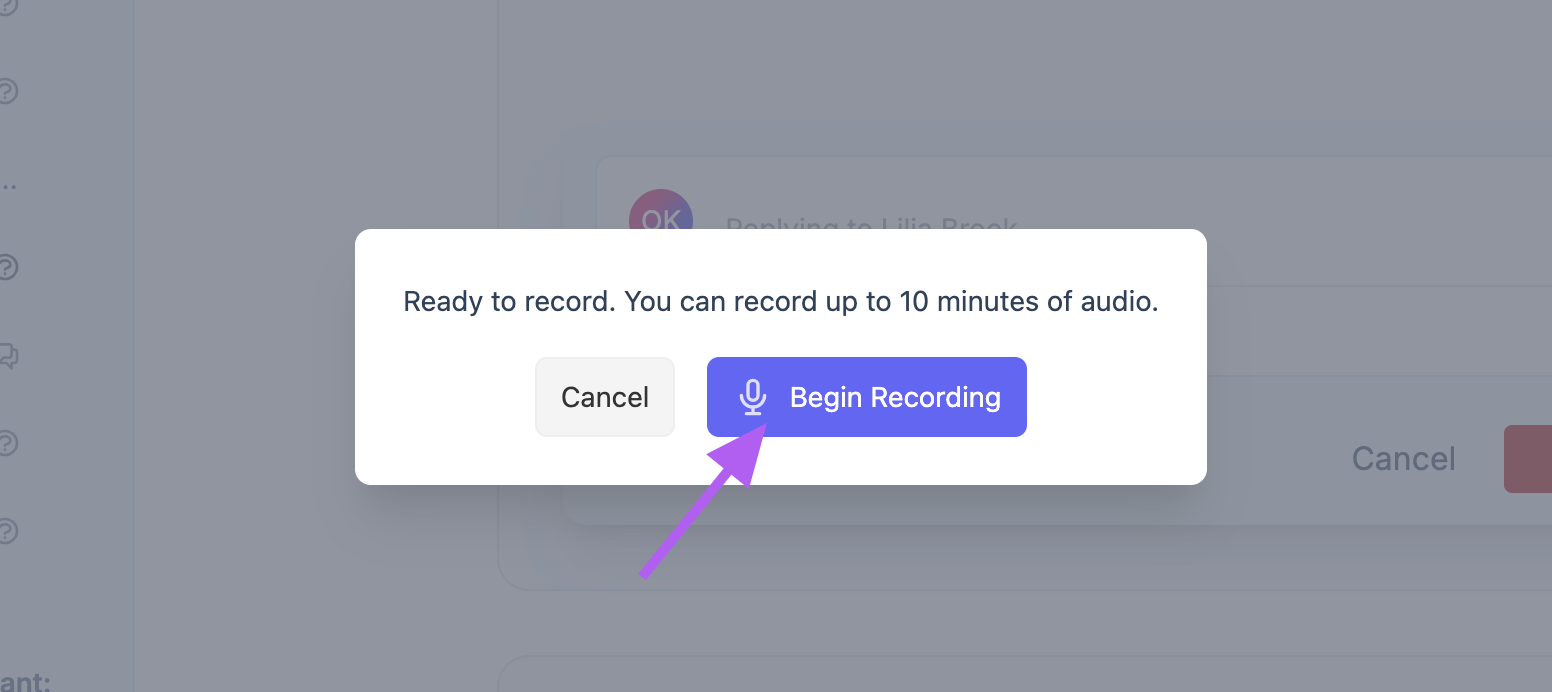
- Record your clip. The steps depend on what you picked. See the next section.
- Click Post (or Reply if you're answering someone).
If your recording is still uploading when you click the button, that's fine. Your comment goes up as soon as it finishes.
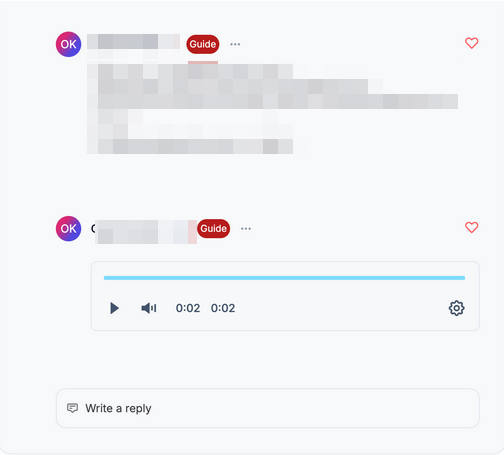
Your recording now appears in the discussion for others to play.
Recording audio, video, or a photo
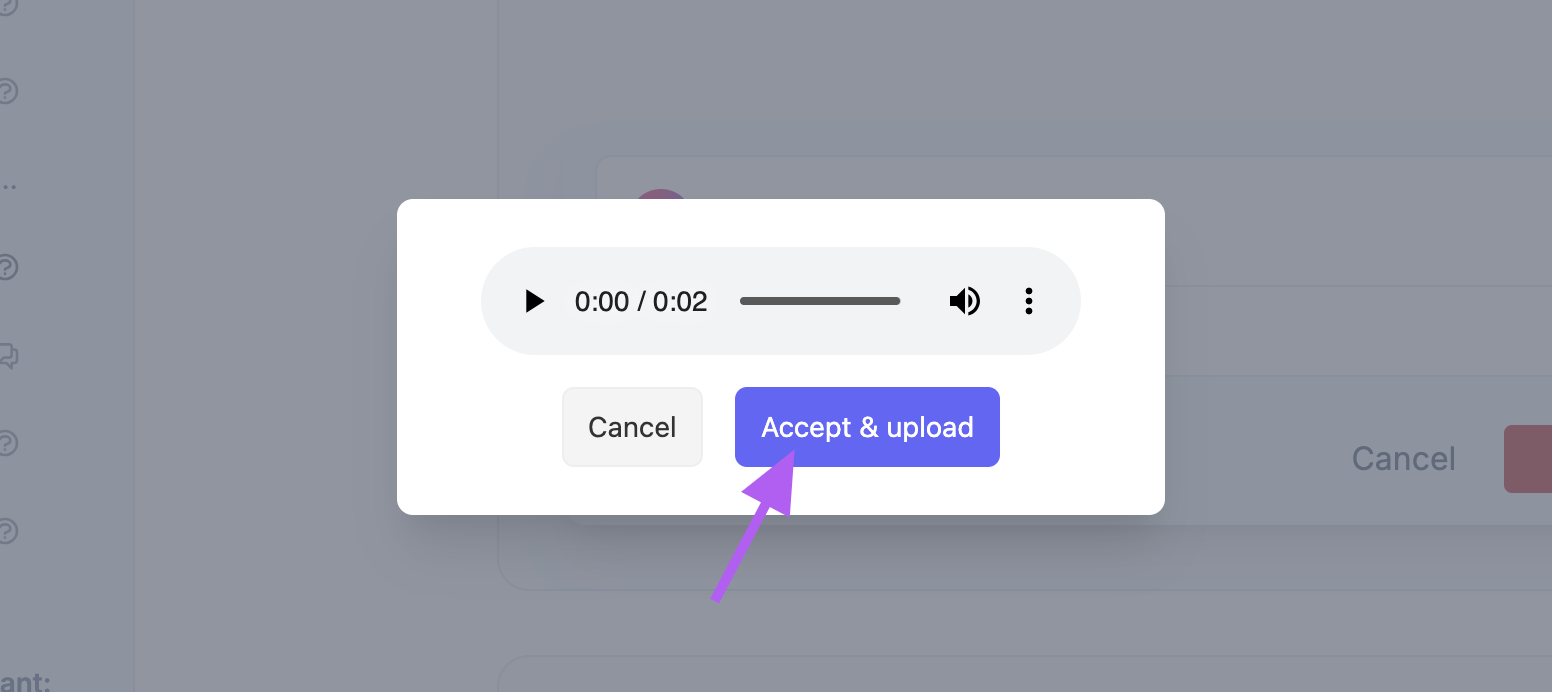
Record audio: A small recorder opens with a timer. In a comment or reply, it opens right inside the comment box.
- Speak your message.
- Click Stop when you're done. To throw it away, click Cancel.
Record video on a computer: A small webcam panel opens.
- Click Start.
- Click Stop when you're done.
- Click Use video. To try again, click Retake.
Take a photo on a computer: The same webcam panel opens.
- Click Take photo.
- Click Use photo. To try again, click Retake.
On a phone: Record video and Take photo open your phone's camera. Record or snap as you normally would.
Record in a new topic or assignment
You can also record when you start a new discussion topic or write an assignment answer.
- Click in your text where you want the recording to go.
- Click the paperclip button, Add photo, video or file. On a phone, you'll see just the paperclip.
- In the Add media window, click Record audio, Record video, or Take photo.
- Follow the recording steps above.
Your recording goes in where your cursor was. The Submit Discussion or Submit Assignment button waits until your recording is finished and uploaded.
If your camera or microphone doesn't work
If your camera or microphone is blocked, missing, or in use by another app, Ruzuku tells you why. Fix the problem, then click Try again.
For example, close a video call app that's using your camera. Or allow camera access in your browser settings.